Custom sensors, from breadboard to working device.
When the data you need does not exist yet, or off-the-shelf devices do not measure the right thing in the right place, we design a sensor system for the job: hardware, firmware, software and analysis.
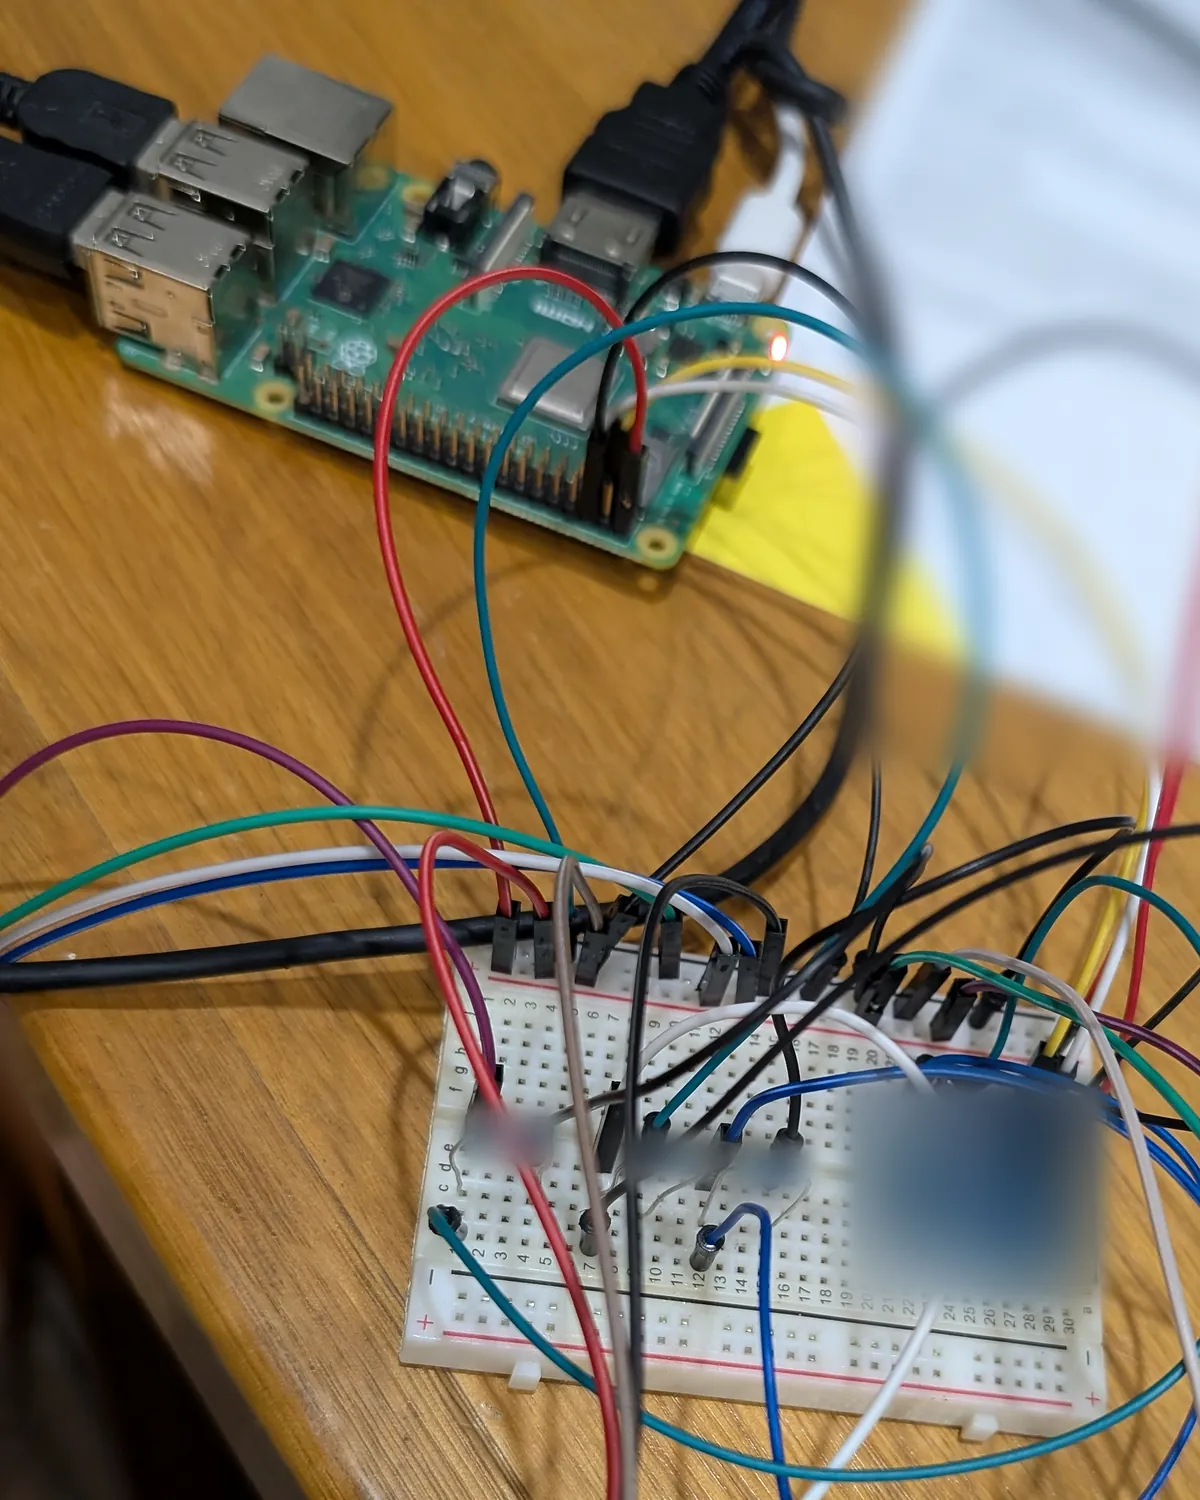
Our first working sensor prototype, February 2025: off-the-shelf sensors on a breadboard, wired to a Raspberry Pi. Part labels and component markings blurred.
The problem we solve
You need data that nobody is collecting yet.
Many real problems start with a question nobody can answer because the data is missing. Is that machine running hot? Is that process on track overnight? Off-the-shelf devices often measure nearly the right thing, in nearly the right place.
We design sensor systems that collect the data you actually need, starting with off-the-shelf parts and building our own boards when they will not do. Because we also write the firmware and the software, the whole system is designed to work together.
How we work
Eight steps, from idea to working device.
We prove the idea cheaply first, then spend money on custom hardware only when the data says it is worth it.
Steps 3 to 5 repeat for each new version of the board.
01
Step 1: Design a prototype around the need
We start with the question you need answered, not the hardware. What do you need to measure, where, how often, and what will you do with the answer? Then we look at power, connectivity and where the device has to live. We also note early which rules the finished product will need to meet, such as EMC, radio, electrical safety and smart-device security, because that shapes the design.
From that we choose candidate sensors and the small computer that will run them.
What you get
A short design brief: what we will measure, the parts we plan to try, and what the first prototype has to prove.
02
Step 2: Build an MVP from off-the-shelf parts
We build the first version from commercially available sensors and boards, such as Raspberry Pi, wired together on a breadboard. No custom hardware yet, so it is quick and cheap to change.
The aim is real data from the real environment as early as possible, sent to the cloud where you can see it.
What you get
A working rig and your first real readings, before any money goes into custom boards.
03
Step 3: Design the printed circuit board in software
When the breadboard proves the idea, we design a printed circuit board (PCB) in widely used PCB design software, such as KiCad or Flux: first the schematic, then the layout.
Layout matters for sensors. For example, we keep parts that run hot away from the parts that make sensitive measurements. We run electrical and design rule checks (ERC and DRC) before anything is ordered. For larger projects we can bring in additional specialist engineers, including an independent design review.
What you get
A board design that is checked, documented and ready to order.
04
Step 4: Get the boards made, quickly and cheaply
We order boards from fast online manufacturers such as JLCPCB or PCBWay, choosing whichever suits the job, in small batches with spares. That keeps each version affordable, so trying a better version is not a big decision. Cost and turnaround depend on board size, layer count, complexity and quantity, and we size them in the proposal.
We assemble and hand-solder prototype boards ourselves, and use the board maker's assembly service when it saves time or cost.
What you get
Physical boards in your hands, at prototype cost.
05
Step 5: Test and iterate on each version
We bring each board up, then test it on the bench and, where the project allows, in the place it will be used, and we fix what testing finds.
Each round becomes the next version of the board. Finding a problem on a cheap prototype is the point.
What you get
Evidence of how the device behaves, and a better board each round.
06
Step 6: Develop the firmware
The firmware is the software on the device. It reads each sensor, timestamps the data and sends it securely to the cloud. A simulation mode lets us test the rest of the system without the hardware attached.
We pick the platform to suit the job, not the other way round. That can be a widely used, capable microcontroller such as ESP32, STM32 or Nordic nRF, programmed in C/C++, with MicroPython for quick prototypes, or a small Linux computer such as a Raspberry Pi when the device needs more.
What you get
A device that collects data reliably and can be updated as the design changes.
07
Step 7: Develop the software people use
Data is only useful when someone can act on it. We build the cloud back end, the dashboard or mobile app, and the alerts, so the right person sees the right reading at the right time.
What you get
An app or dashboard your users can actually use, with their data stored securely.
08
Step 8: Add analysis and AI, then plan for production
With real data flowing, we can look for patterns and decide where analysis or AI genuinely helps, such as predictive maintenance that flags early signs that equipment needs attention. See AI and knowledge systems.
When a design is working, we look at what it would take to produce it: the enclosure, power and manufacturing. We plan the testing your product needs, such as EMC and radio, arrange it through accredited test labs, and help you prepare the records. The supplier, usually you, registers and applies the RCM mark. We are clear about what has been proven and what has not.
What you get
A clear view of what is proven, what is still open, and the next step.
What you get
Hardware, firmware and software that work together.
Depending on how far the project goes.
Design brief What to measure, where and why, and what the prototype has to prove.
Working prototype Off-the-shelf parts on a breadboard, sending real data.
Custom PCB design and boards Schematic, layout and small-batch boards, revised as testing teaches us.
Firmware Software on the device that reads the sensors and sends the data securely.
Cloud back end, app and dashboard Where your data lands, and how people see it and get alerts.
Test results and next steps What the device does well, what is still open, and the path to production.
Proof
Sensors we have designed and systems we run.
Our own boards, and condition monitoring for rail.
Connected-health R&D
IntelliGut
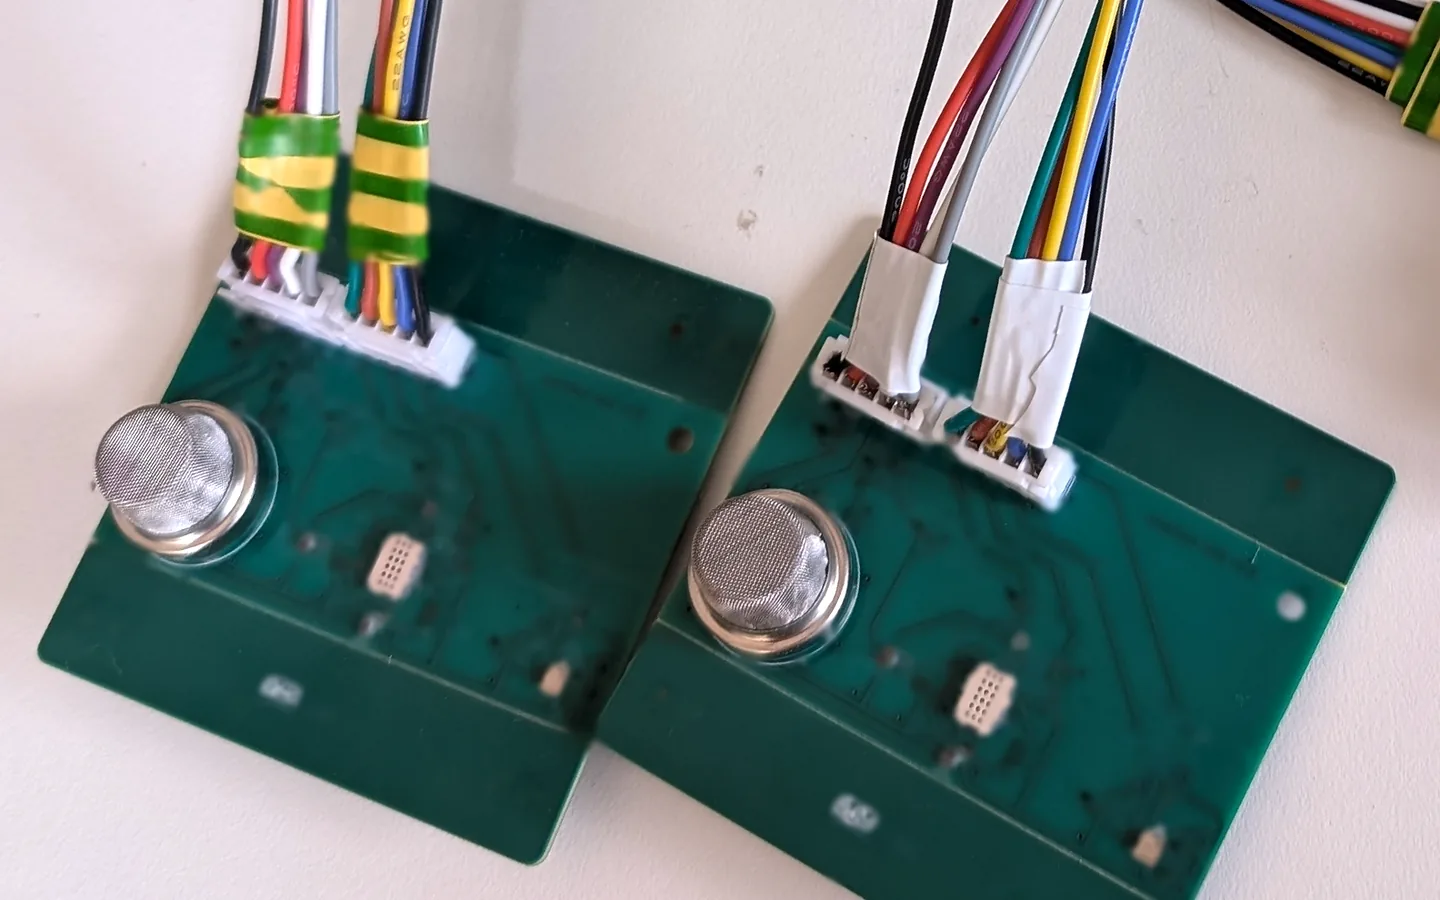
IntelliGut is a Jundra connected-health research and development venture (R&D). Jundra designed its own gas-sensor array PCB, firmware and app for it, following the steps on this page.
We started that sensor R&D in December 2024 and have built working sensor prototypes since February 2025.
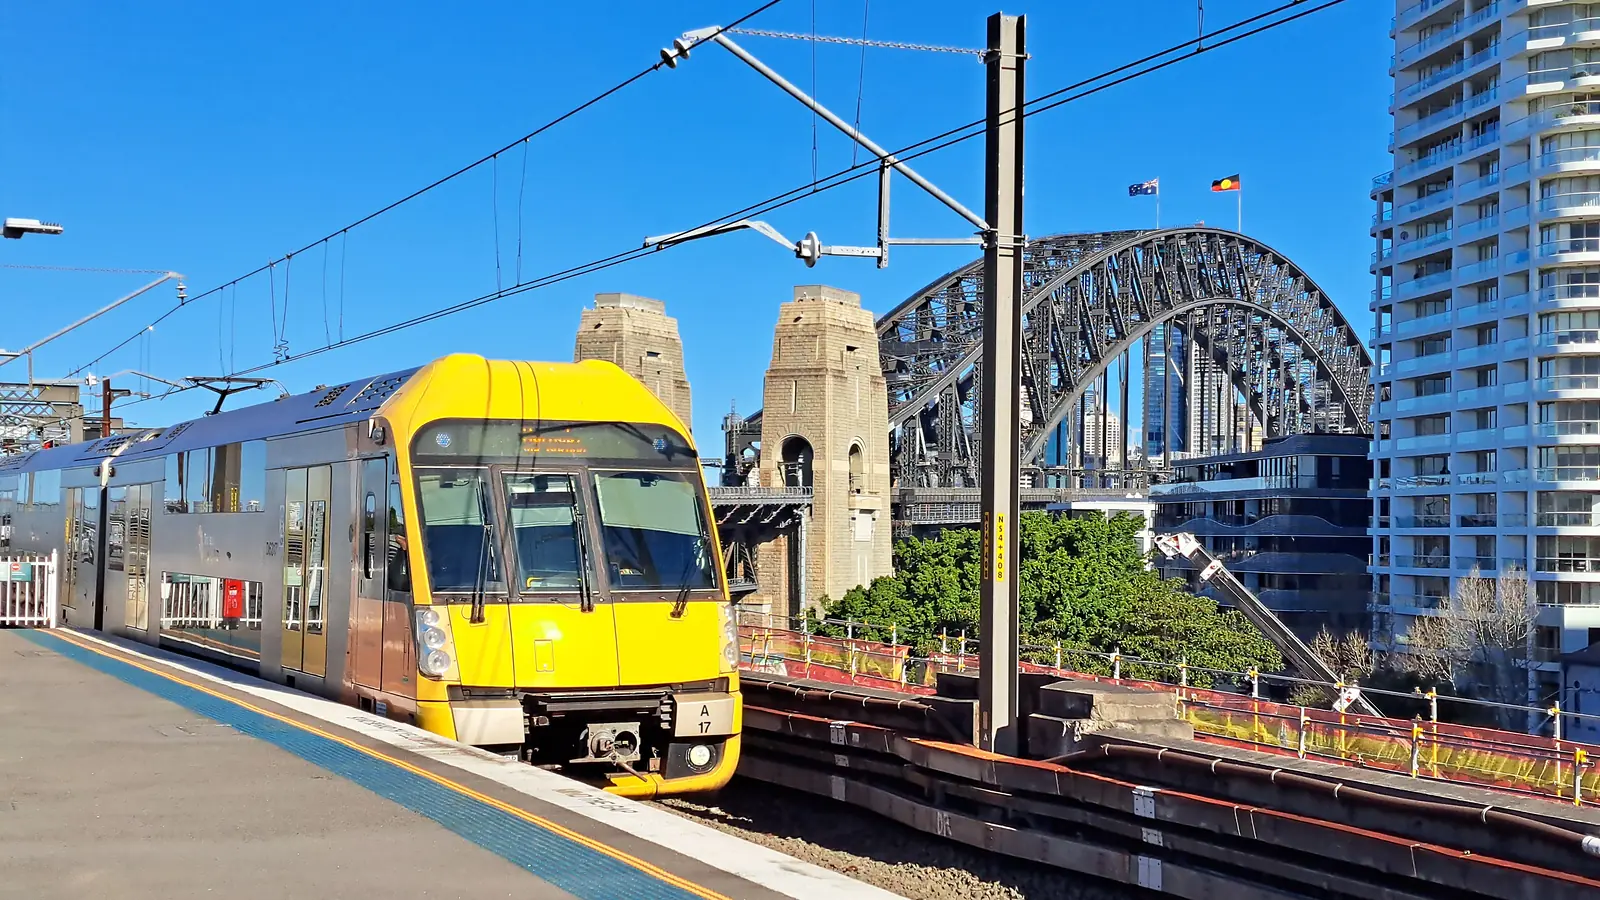
Photo: Tamgarat, Wikimedia Commons, CC0. Not a Sydney Trains image.
Industrial IoT
Sydney Trains
Sydney Trains operates the rail networks across Sydney. Jundra built and supports its CMO condition monitoring system, which brings data from trackside and train monitoring devices, such as bearing and brake temperature sensors, into one central dashboard.
The system sends automated alerts to maintenance staff when it detects faults, and its dashboard runs on one of the large screens in the Rail Operations Centre. Jundra has supported and developed the system for more than a decade.
The system also takes in data from devices such as angle-of-attack sensors, wheel impact load detectors and pantograph condition monitoring systems, and stores it in a central database for analysis and reporting.
A venture example: FermentSense. FermentSense is a Jundra venture in development: a clip-on monitor designed to keep watch on ferment activity and tank temperature for small cideries, breweries and meaderies. It is going through these same steps, and we are still testing it on the bench.
You need to measure something that off-the-shelf products do not measure well, or not where you need it.
You have an idea for a product that needs hardware, software and an app to work together.
You want to test whether an idea works before committing to a large build.
You already have sensors, but the data is not reaching the people who need it.
Probably not the right fit if
You need a large number of finished, certified devices right away. We are best at the stage where the design is still being worked out.
A product you can buy already measures what you need. We will tell you if that is the case.
Working with us
What you can count on.
You own the work
Everything we create for you, handed over into accounts you own. Open-source and third-party parts keep their own licences.
60-day defect fixes
We fix defects in our work for 60 days after delivery, at no charge, on top of your rights under the Australian Consumer Law.
Replies in one business day
Plus maintenance and support contracts to fit your needs and budget.
Security built in
Multi-factor authentication, code review, vulnerability scanning, a secrets manager and backups, with penetration testing by independent specialists for systems that need it.
Your data, your rules
Never put into free or consumer AI tools. Open-source models on your own servers, or commercial AI services under business terms that do not allow your data to be used for training.
Insured and prequalified
Professional indemnity, public liability and products liability insurance held. Prequalified supplier on the NSW Government ICT Services Scheme (SCM0020).
Common questions
Questions we get asked.
Do we need to know exactly what to measure?
No. Working that out is step one. Tell us the problem and the decision you want to make, and we will work back to the measurements.
Why start with off-the-shelf parts?
Because it is the fastest and cheapest way to learn. A breadboard can be rewired in an afternoon. A custom board is worth it once the idea is proven.
Do you design your own circuit boards?
Yes. We designed our own gas-sensor array PCB, firmware and app for IntelliGut.
Can you connect the device to our existing systems?
Yes. Connecting sensors and field devices to a central data platform is core to our industrial IoT work.
Are your prototypes ready to sell?
No. Prototypes are for testing and learning. On the path to production we plan the enclosure and manufacturing, and arrange the testing your product needs, such as EMC and radio, through accredited test labs. The supplier, usually you, registers and applies the RCM mark. What that involves depends on the product.
What does it cost to get boards made?
It depends on board size, layer count, complexity and quantity. We size it in the written proposal. If you accept the proposal, the next stage is a paid MVP: the breadboard prototype that proves the idea before custom boards, with a fixed scope, timeframe and deliverables agreed in the proposal, so you can decide whether to continue.
Who owns the work?
You do. You own the work we create for you and you pay for: the code, designs, trained models and documentation, including schematics, PCB layouts, manufacturing files, firmware source and test results. We hand it over into accounts you own, not ours. Open-source components and third-party or commercial AI models stay under their own licences, and any tools we had before your project are licensed to you for use with the work. Your proposal lists both. Every project includes a 60-day defect-fix period after delivery, in which we fix defects in our work at no charge. This is in addition to your rights under the Australian Consumer Law.
Do you support devices after delivery?
Yes. We hand over the design files, firmware source and test results, and fix defects in our work at no charge for 60 days after delivery, in addition to your rights under the Australian Consumer Law. We reply to support requests within one business day. If you need more, we offer maintenance and support contracts negotiated to fit your needs and budget.
What if the person who built it is unavailable?
You are not dependent on one person. Your code, documentation and accounts are in your name. Every handover includes the source code, architecture notes, a runbook for running and recovering the system, and the access details, handed into your own accounts, so another engineer, ours or yours, can pick it up.